Working with Colour Gradients
We all love that seamless fade between colours that you can only achieve with the just the right threads! Well theres a little more too it than you might think…
I’m going to take you through:
Understanding a little about colours
How to choose your threads
How to use the gradient in a larger piece

Understanding a little about colours....
Colours can be grouped in terms of not only their ‘overall’ colour but also the colours that make it up. This is why colour guides don’t have all the blues or all the greens in one place, arranged from darkest to lightest.
The gradient above is made up of 4 shades of, what I would call, blue-toned-purples. You can also find pink-toned-purples, red-tones-purples etc.
To have a smooth gradient you will want all the shades of your colour to have the same tone. To use a crude example; dark yellow-green to light yellow-green with look completely different to the gradient dark blue-green to light blue-green.
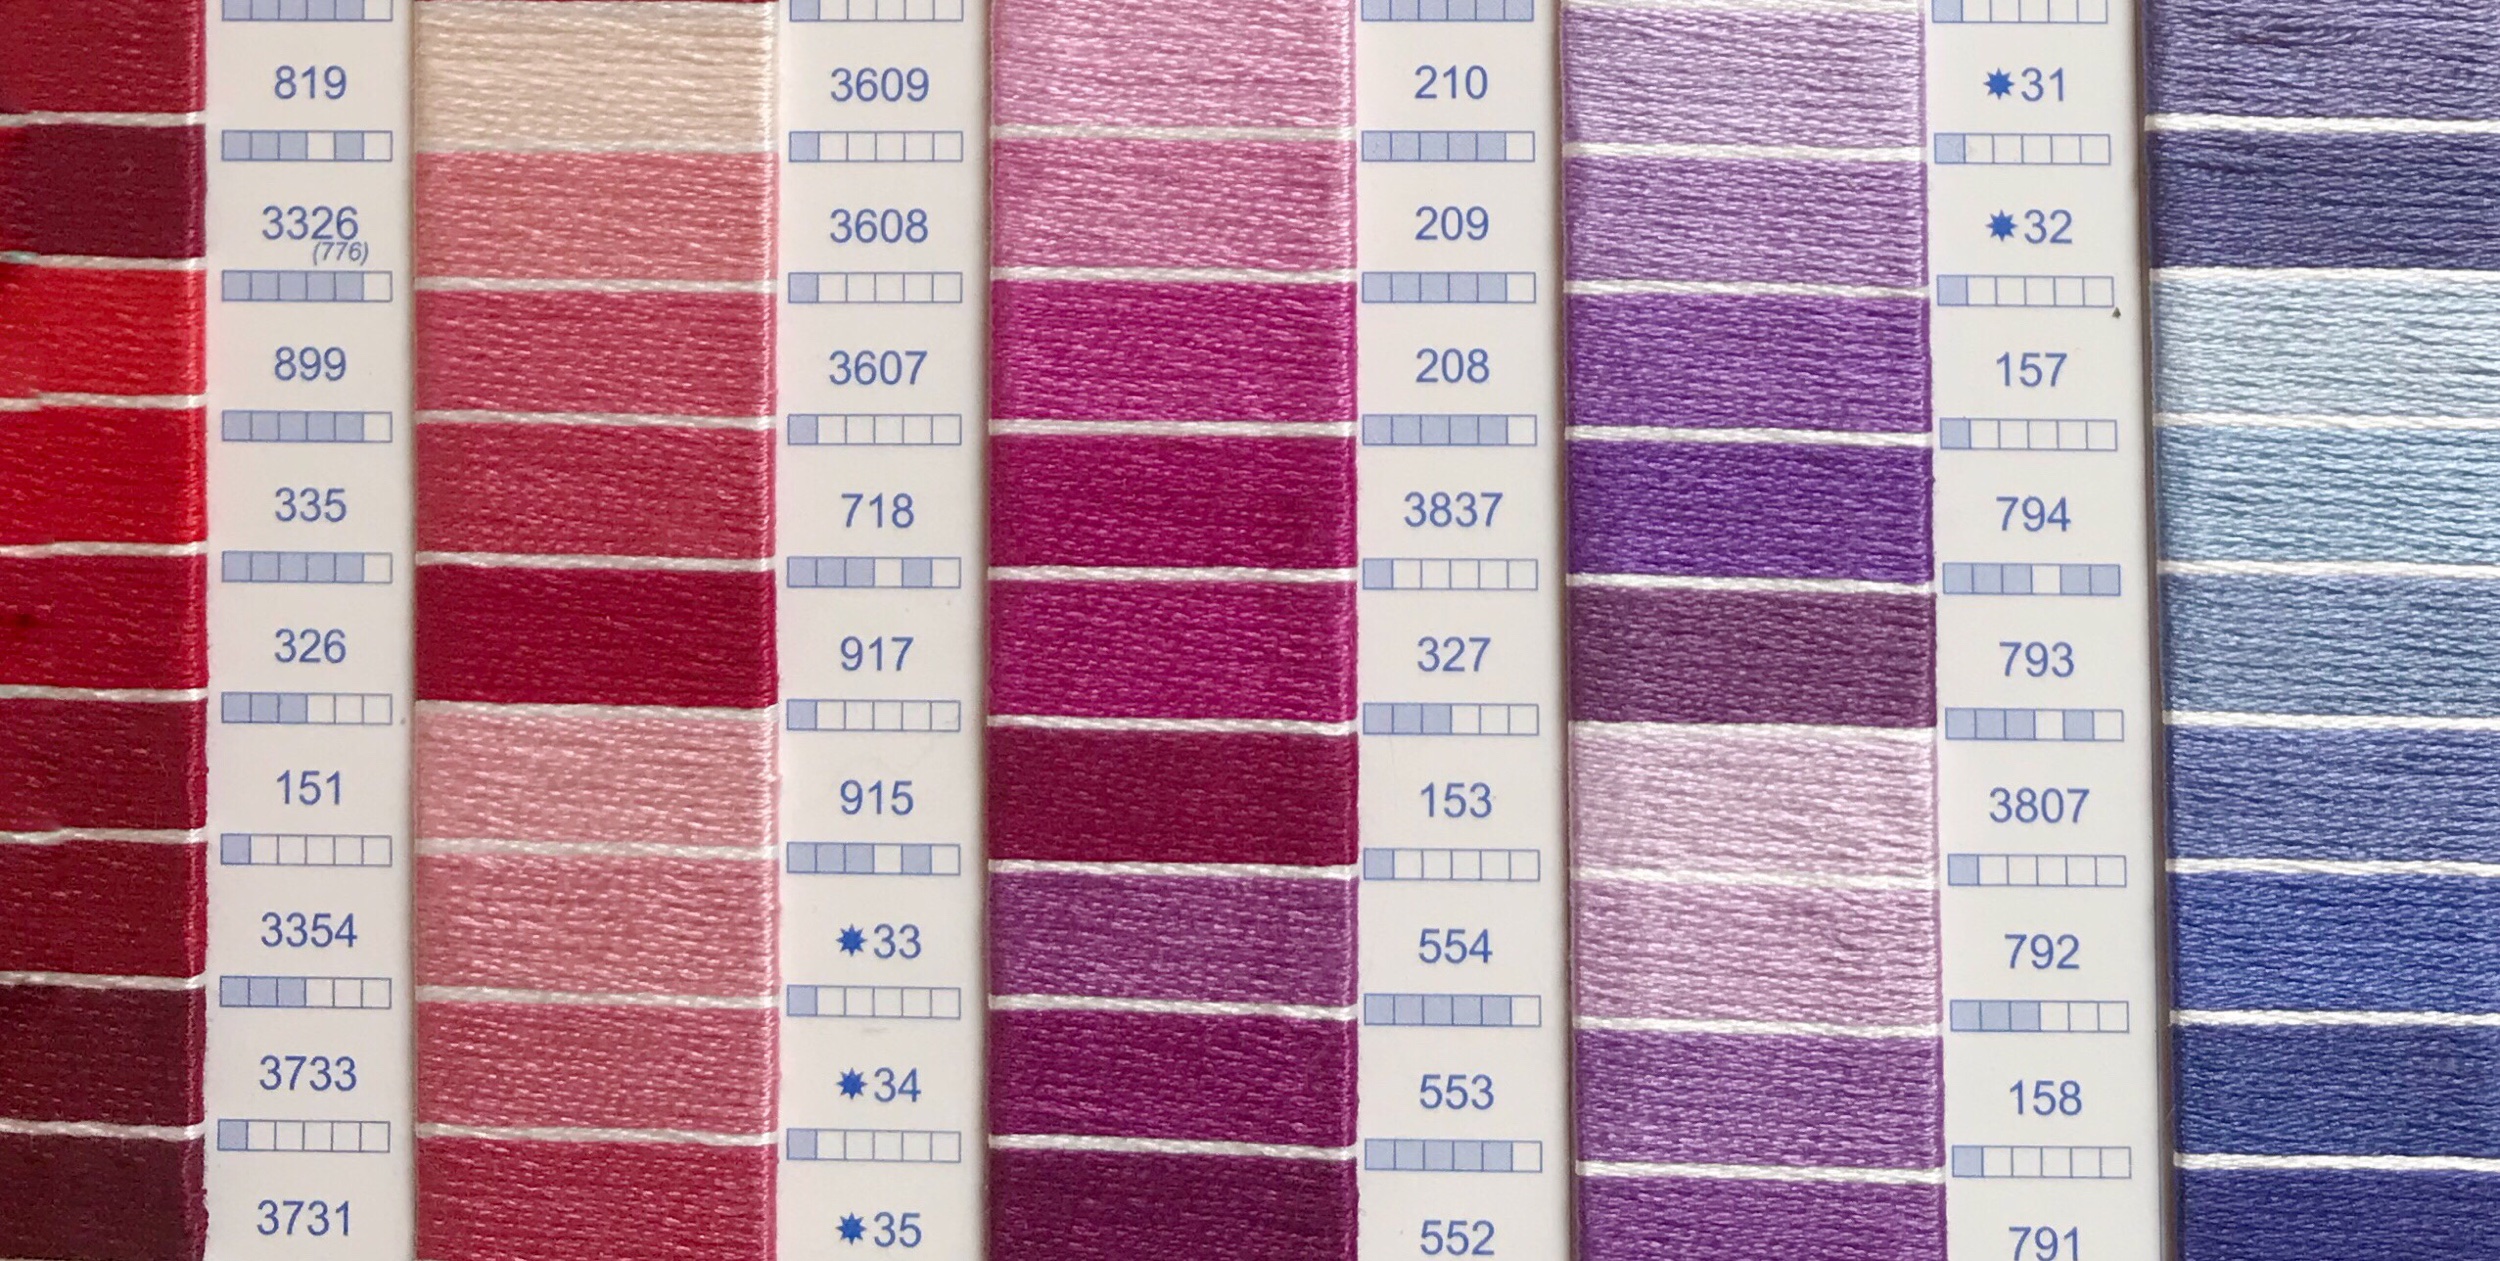
Example of a colour guide showing overall colours grouped tonally
Choosing your threads
There are a few important things to bear in mind as you choose your colours;
the colours should all have the same tone to them, as well as overall colour
the shades should not be too far from each other, i.e the jump from dark to light shades should not be too extreme between the adjacent colours in your gradient (this will ensure a more subtle blend)
you have enough colours to create a smooth blend. The more colours you pick, the more gradual the change between each thread and the smoother your gradient will look when its all stitched up
the size of the space you are working in is a good indicator of how many threads to pick. The bigger the space the more threads you will want to pick to create a nice gradient, maybe up to 7 or 8, but if you are working in a small space 3 or 4 may be just right
If your not sure about what threads to pick I would always recommend picking more threads than you think you need to start with and then narrow it down when you know what you want.
Maybe even pull more than one tone of gradient! You may not be able to tell what colour will fit best with your embroidery until you see it all laid out in front of you.
How to use your gradient in a larger piece!
So you’ve picked your threads… what now!
Well you probably started with an idea in mind of how you wanted to use them but heres a few insights into how they can be used for maximum effect
Florals and Gradients
Gradients can be used to great effect when stitching floral sprays! They can even help to give a more 3D impression to your work. Here’s a couple of simple tips to get you started;
flowers should be darker in the centre and lighter at the edges
leaves should be lighter in the middle of each half of the leaf but darker around the edges of the leaf
flower buds should always be darker than flowers in bloom
Landscapes and Gradients
Gradients can be stunning when worked as part of a landscape but you may even want to have more than one…
Sure, you can stitch a beautiful sunset from yellow to orange to red and have done with it! But, what if you also work another gradient simultaneously that had more peach or pink tones in it. Nature is much more complex than we give it credit for and the more colours you use the more organic your piece will feel.
Gradients in Isolation
Perhaps the simplest idea of the bunch is to use a single, well picked, gradient just… on its own.
Be careful though, theres really nowhere to hide with this option so you best hope you picked those colours right!
Well there you go!
That’s just about everything I have to say on colour gradient, for the moment at least. We are all still instantly learning through our art and I’m sure I will expand my knowledge of using gradients in the future but for now at least, this is a pretty good starting place!
Subscribe to my newsletter to be notified when the next post is out!