
Make Your Own QR Code WIFI Shortcut in Cross Stitch!
We all know the struggle of having to type in WiFi network names and passwords correctly, it can be such a faff! Well here’s a nice stitchy solution: QR codes
They can be scanned using most phones inbuilt cameras (or by using an app) and can provide a shortcut to automatically connect to a WiFi network! Turns out they’re super easy to turn into a cross stitch too…

How to generate your QR code
If you’re working on an android phone you may be able to do this from your network settings page:
go to your WiFi settings (make sure your connected to the network you want to make a shortcut too)
Click on that network to bring up a share option
when you click share it should generate a QR code for you! Simply screenshot that and you’re ready to go
If the above method doesn’t work or you’re using an Apple device here’s an alternative for you:
find and download an app called Visual Codes
When you create a new code it will give you an option to type in your WiFi details
once you’ve done that it will generate a code to you and you’re ready for the next step

Draw your grid
Once you’ve got your QR code I recommend printing it out and then drawing a grid over the top of it like I’ve done in this image
Each pixel is one square on the grid
This will make it much easier for you to count things as you stitch
Your grid and indeed the stitch count for this piece is 35*35
Ready to start stitching
I square on the grid is 1 cross stitch, it’s really as simple as that!
I used 20 count Aida and two strands on embroidery floss to stitch mine and it ended up in a 3” hoop
If you’d like yours to end up bigger you could use a lower count of Aida and more strands of floss or you could stitch a group of 4 cross stitches for each square on the grid to scale it up and make it more visible across a room
Remember, whatever count of fabric you choose and however many strands, you need to be sure that the cross stitches appear slid enough to be read and scanned correctly
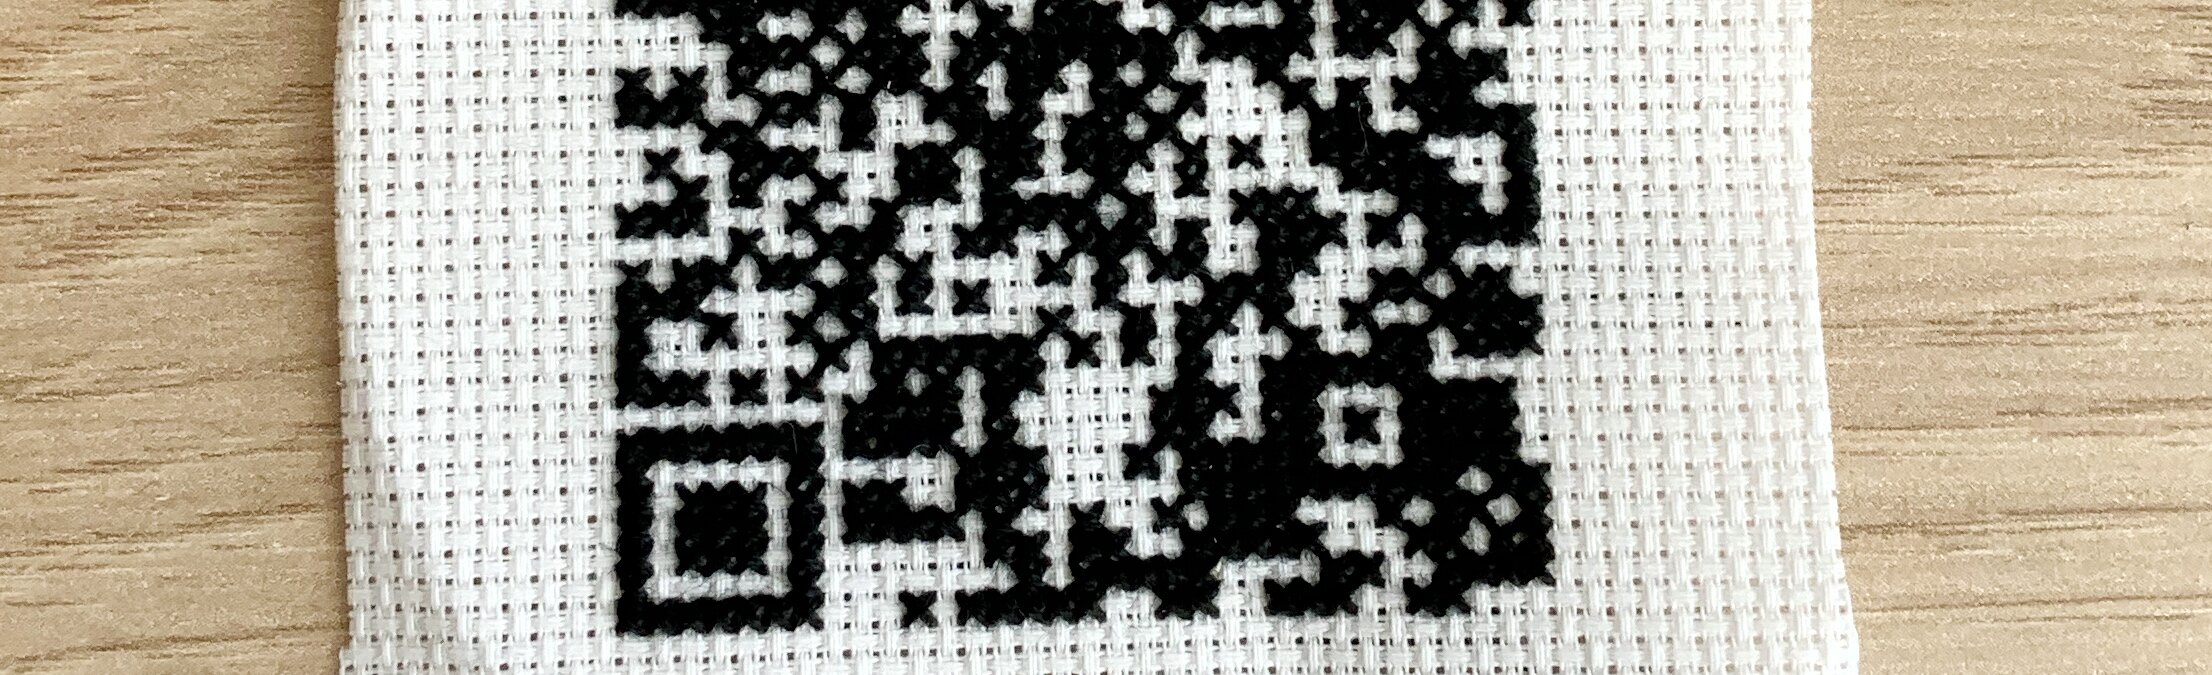
I started in one of the top corners and stitched the square. Then for the more jumbled part of the code I stitched two rows of squares at a time. First heading from left to right then back from right to left and so on and forth down the whole piece.
This made it much easier for me to count and not miss anything

Done! Now to frame it
There are many ways you could choose to display this code, personally I chose old faithful and sewed mine into a hoop with felt on the back but a square black frame would also look great in this case!
You can find a full tutorial on how I back my hoops on YouTube
If you do try this I’d love to see how you get on!
You can share your work by using #purplerosestitchers and tagging me on Instagram, or TikTok