Peacock Butterfly Free Embroidery pattern
One of the new things I’ve decided to do in 2022 is share some my designs as free blog posts! I hope that this will not only act as a great resource for those wanting to learn embroidery but also will show you just what you’ll be getting if you decide to purchase one of my patterns or kits
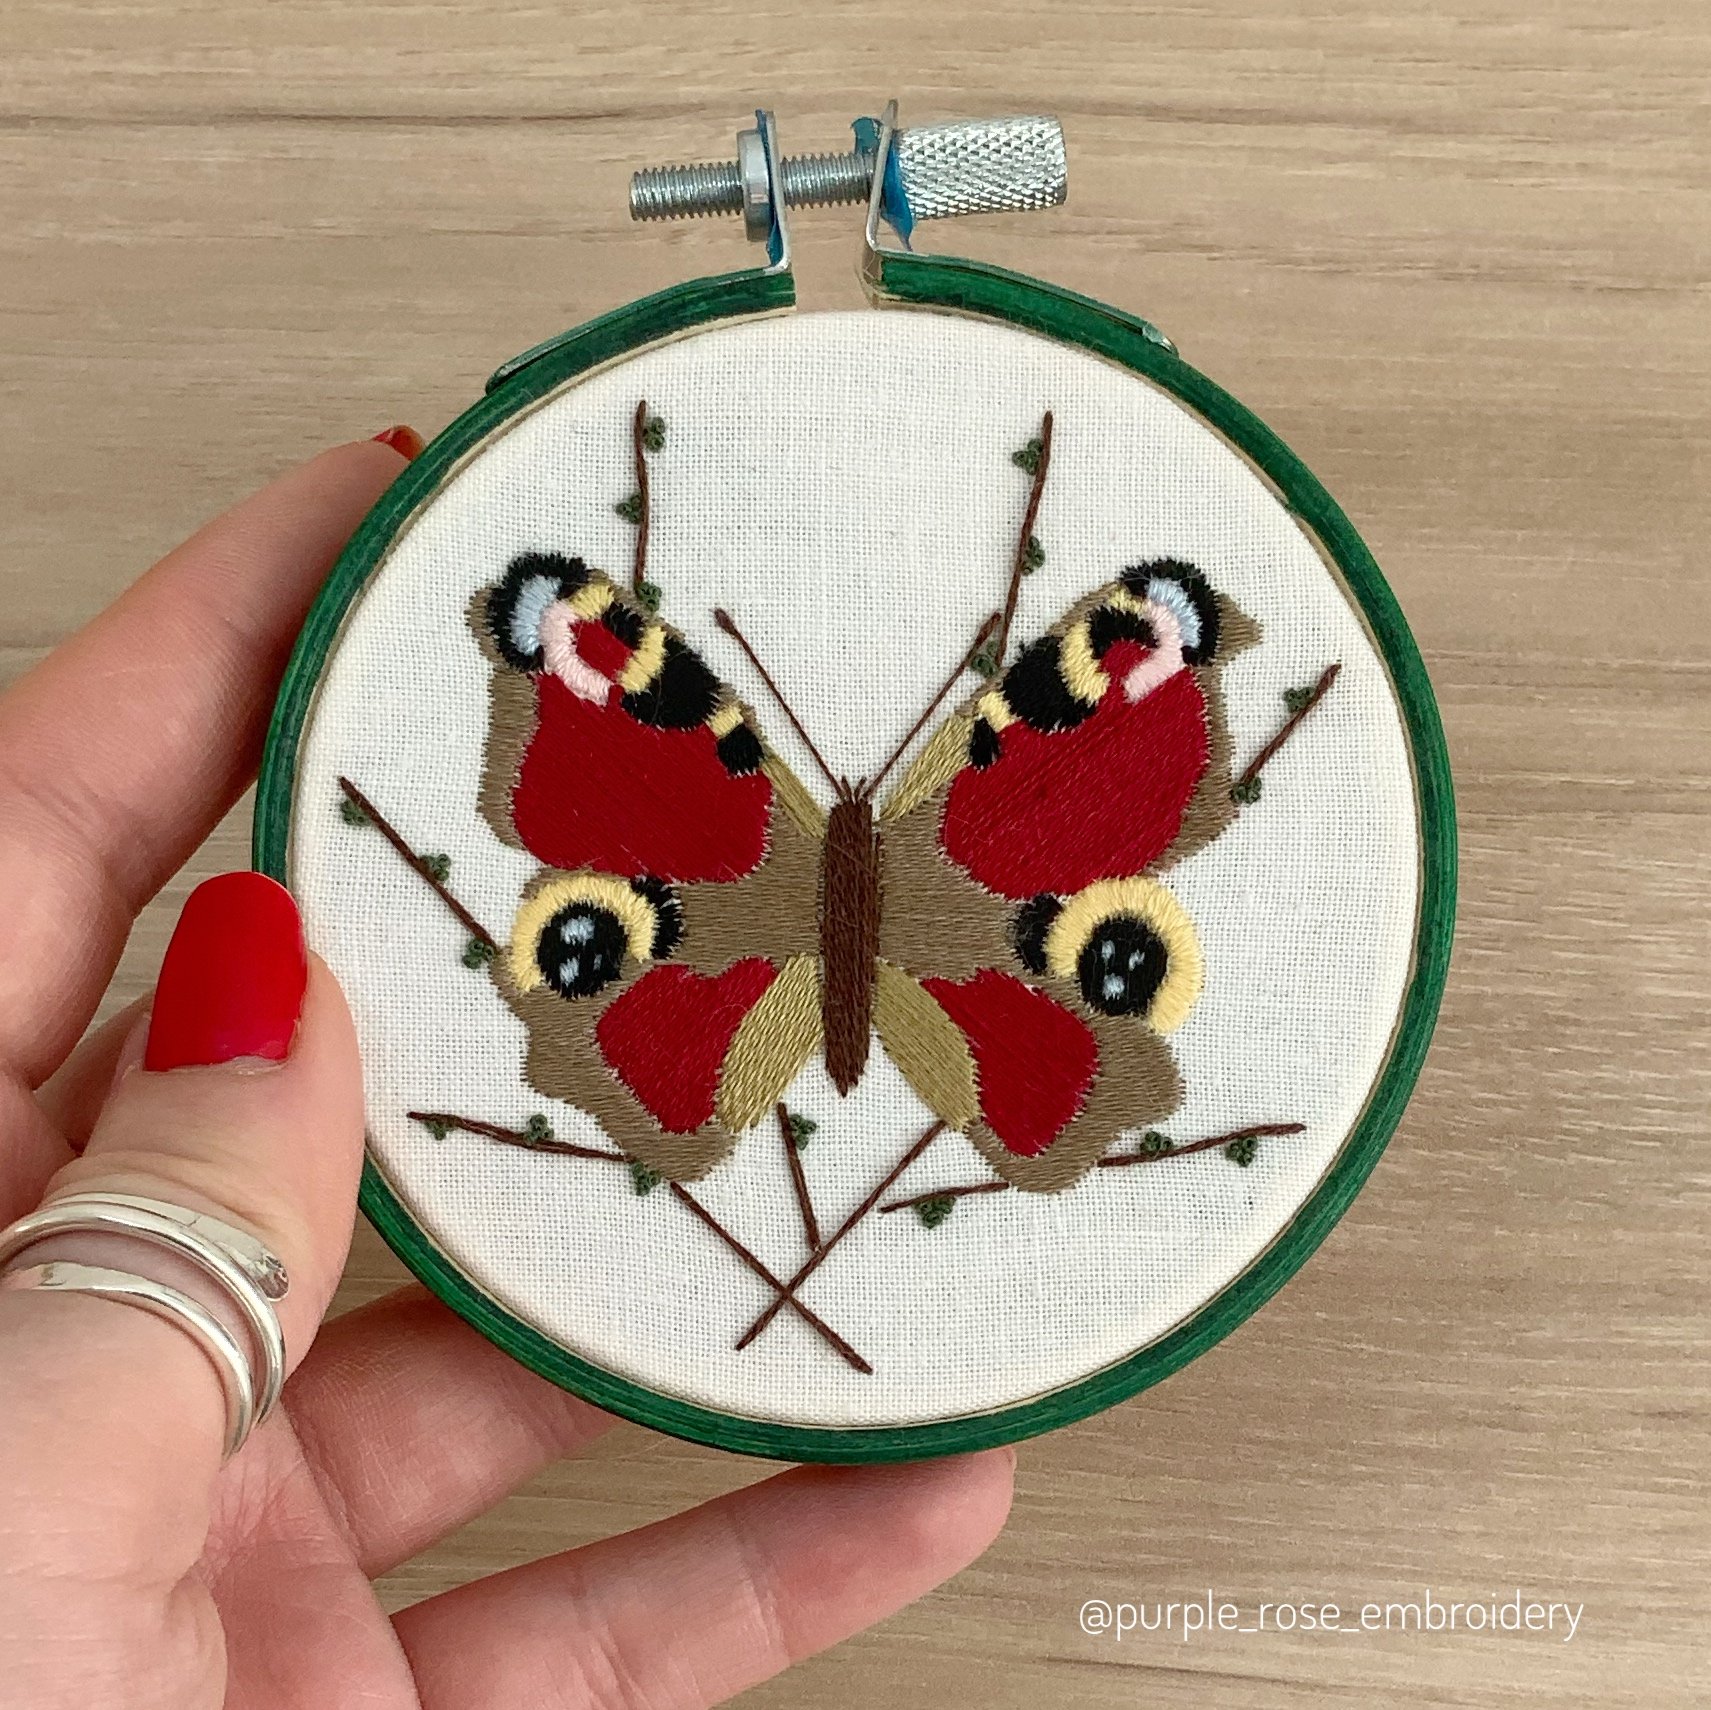
This peacock butterfly design is great for beginners!
You’ll be learning:
how to transfer your pattern onto fabric
how to do silk stitch and bullion knots
how to finish your embroidery hoop for display
To make this design you will need:
an embroidery hoop and fabric to fit ( I used a 3” hoop)
a sharp embroidery needle
the following colours of thread (I’ve provided DMC references but you can use any equivalent or alternate thread you have to hand!)
Thread 1 - 310 - Black
Thread 2 - 816 - Dark red
Thread 3 - 938 - Dark brown
Thread 4 - 3790 - Pale brown
Thread 5 - 370 - Mossy green
Thread 6 - 745 - Golden yellow
Thread 7 - 963 - Pale Pink
Thread 8 - 3752 - Baby blue
scissors
an erasable transfer pen ( Pilot frixion pens work great)
First things first!
You’re gong to need to download the pattern transfer using the button above. There are three sizes of image so use whichever you feel most comfortable with, the smaller the image the more fiddly the stitching will be
Once you’ve dowloaded the pattern, follow the instructions below to transfer the design to your fabric using your erasable transfer pen
Transferring your design to the fabric
You will be tracing the design onto your fabric, you can do this from the digital version or from a printed copy.
Place the fabric in the hoop so that it’s drum tight, then secure the hoop over the top of the printed design so that it won’t move. Masking tape works well and does not leave a residue
Now place the hoop and design over a light source, If you’re using the digital copy on a tablet or monitor this will act as its own light source. If not, a Light box, or a window (during the day) both work well
You should be able to see the design through the fabric
Using the erasable pen, trace this design on to the fabric. Don’t worry too much about tracing all the detail, you can freehand this later if you are confident
Now you’re ready to get stitching!

Quick tip!
If you have different colours of erasable pens then it cane helpful for this design to colour in your fabric. this will make colour placement easier later on

The diagram above shows the correct colour placement for this design
Time to get stitching!
When stitching this design unless otherwise stated:
Use one strand of each thread for the smallest version and 2 strands of each thread for the bigger versions
The direction of stitches on a curved section should follow the curve e.g. radiate from a central point (see yellow stitching in picture above)
In a non curved section the direction of stitches should follow the line of the wing
A video tutorial for silk stitch and bullion knots can be found below the instructions!

Step 1:
Using thread 8 (baby blue) silk stitch the areas marked blue on the diagram. on the lower wing your stitches should be vertical
Step 2:
Using thread 7 silk stitch the areas marked in pink on the diagram
Step 3:
Using thread 6 silk stitch the areas marked in yellow on the diagram
Step 4:
Using thread 1, silk stitch the areas marked in black on the diagram. The stitching on the lower wing should be vertical
Step 5:
Using thread 3, vertically silk stitch the body of the butterfly
Step 6:
Using thread 5 silk stitch the section marked in green on the diagram
Step 7:
Using thread 2 silk stitch the areas marked in red on the diagram
Step 8:
Using thread 4, fill in all remaining areas of the wings with horizontal silk stitch
Step 9:
Using thread 1 stitch the antennae using single straight stitches, then add a single bullion knot to the end of each (tutorial below). If you prefer you can use a French knot in the place of the bullion knot
You’re done!
See below for the video tutorials
Want to turn your new embroidery into a framed artowork?
Click the button blow to go to my blog post tutorial
Thats all for today!
I hope to have more free patterns for you all soon and in the mean time you can always stay up to date with new releases via my instagram and newsletter