Photography for Social Media with a professional non-expert
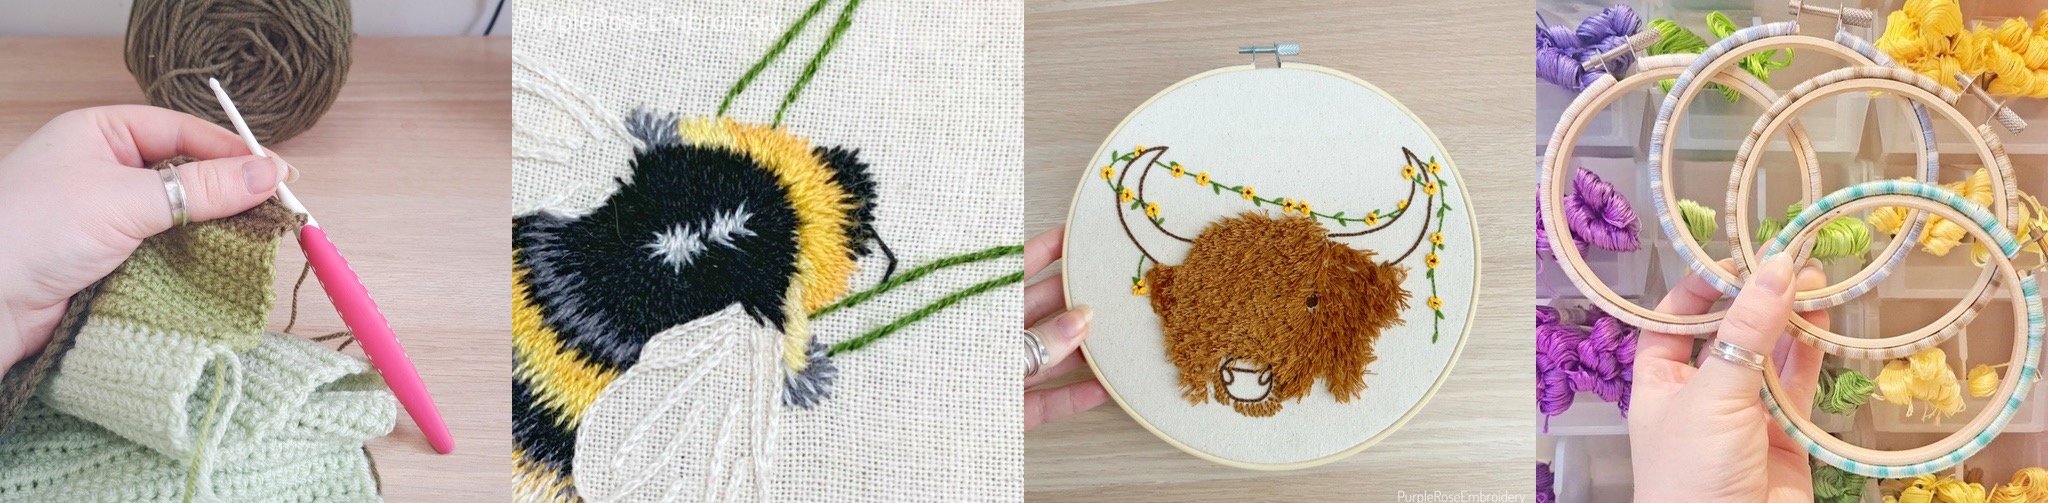
Ok, first lets digest the title of this blog post and get things straight! I’ve been using social media as an advertising tool for Purple Rose Embroidery for the last 4 years. Over that time I’ve perfected my methods of how to get the best photos I can in the easiest way possible. After all the best way to treat social media is little and often so it has to be quick and easy!
Do I know as much as a trained photographer? No. However I can offer many years of experience and a foolproof method that only requires your phone!
Step one - Lighting
You are going to want to set up your photo carefully as this is the most important step! Bright, indirect natural light is the best thing I have found for taking photos
What do I mean by that?
Lots of natural light, perhaps in a room with a big window or even better a skylight, but no direct sun. If you’ve got sun streaming through the window its going to create lots of shadows which isn’t what we want. Bright cloudy days are your friend!
Try and find a room that’s nice and bright but with no obvious direct source of that light i.e. a room with a big window at a time in the day when it doesn’t get full sun
Step two - dress your set
If you’re taking photos for social media the first thing you need to do is work out what shape the finished image needs to be. For Instagram at the moment the 5:7 aspect ratio is currently the best one to use. Don’t worry, this isn’t complicated! Its just a portrait photo that’s a little taller than it is wide, you might want to consider that in your composition.
Once you’ve found the prefect spot for your shoot you’re going to want to set up your photo. I like to do at least one photo of me holding the object I’m photographing as this can be really handy for scale
If you prefer to use more of a flat-lay format, try and find other things that compliment your item and don’t distract from it
Make sure any shadows in shot are at the bottom of the image you’re creating as this will look the most natural. You may have to turn yourself around so the light falls where you want it too but if you’ve found a really great bright indirect light this won’t be a problem. As a rule of thumb, if taking your photo near a window, face the window to shoot
Step three - taking your photo
Always take lots of photos! You can delete the excess ones later but you never know until you sit down to edit them which look good, which are blurry etc.
Take multiple angles and compositions if you can

But Lottie wait! What do we use to take our photos?
I know, I know. I sort of glossed over that one. Truth is, this is where my expertise runs out… I haven’t got the first clue what resolution, frame rate etc is best. But what I do know is that for social media it doest always matter if you know that part or not!
I taken photos on my iPad pro, my old Nokia 7.2 phone, my new Samsung A53 and more over the years all the similar effect. If you have a modern smart phone, and set up your photo right, chances are you can use that to take a really good photo!
Step four - Editing
I like to edit all my photos with an app called Snapseed. It’s available on Apple and Android, plus its free so accessible for all!
Open the app on the device that you took the photo on. Press the big plus in the centre of the app screen and import your photo from your camera roll.
We’re now going to crop your photo. Click tools, crop. You can then select what shape you want to crop your image, remember the best for instagram at the moment is 5:4.

Once you’ve got your image cropped you need to ‘tune’ it. Click tools, tune image.
It will say Brightness at the top of your screen, slide your finger to the right to turn the brightness up. You’ll need to play around a little to work out how much to adjust it but just turn it up a little for now.
Slide your finger up the screen to select saturation, turn this up a little too. Then repeat for highlights and shadows as well
These are the 4 settings I always adjust upwards with any of my images. Play around with different levels and see what works
You want to end up with a nice light and bright image that catches the eye
Step five - watermark
If you’re taking photos for social media and you don’t want them to be stolen you’re going to want to watermark them. To do this simply click tools, text. Add your business name, social media handle or any useful identifier that would help someone viewing the image to find you
See the difference?


Step six - Posting
Now you’re ready to post your edited image! All you need now is a caption and I’m afraid I can’t help you with that one
Well I hope that gave you a little insight into my process
Now you can imagine me doing this hundreds of times over whenever I need to take new images!
Let me know if you’re interested in a similar post about videos as well…
Talk soon
Lottie xxx